In the saturated world of MMORPG, only a handful of titles survived the test of time. Final Fantasy XIV rose from the ashes proving itself worthy to represent the Final Fantasy brand in MMORPGs. A decade of the brand’s existence spawned three expansions — Heavensward (2015), Stormblood (2017), and Shadowbringers (2019). For the most part, the three expansions served as the solid foundation for the game’s continuous success. For most Final Fantasy XIV players, Raid Battles are hands-down, one of the best features in the game.
The challenging endgame in A Realm Reborn made raids a staple feature in the game. Since then, the development team has been busy concocting some of the best large-scale raids highly anticipated by the community. Speaking of updates, the anticipated patch 5.5 known as Death unto Dawn went live a couple of days ago.
The Nier x FFXIV Collaboration
As expected, the new patch comes packed with new housing items, new crafting items, new side story quests, and more. Death unto Dawn is the first of the two final patches for the Shadowbringers’ expansion. Most importantly, patch 5.5 comes with The Tower at Paradigm’s Breach. It’s the final chapter of the punishing FFXIV X Nier: Automata YoRHA: Dark Apocalypse raid series.
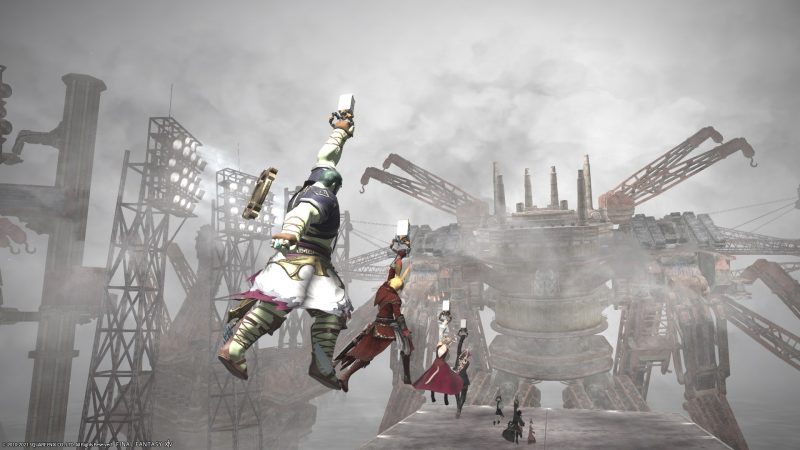
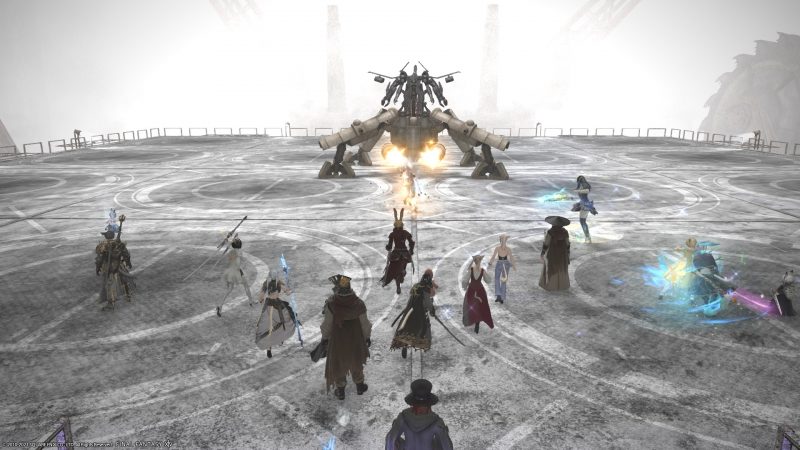
So today, we will cover a brief walkthrough on the first chapter of the YoRHA: Dark Apocalypse series; The Copied Factory. The raid is best for players who reached level 80 with an item level of 435. So if you want to tackle the raid head-on, consider reading the guide below. The first thing you need to know about the Copied Factory raid is that it’s all about punishing boss fights. You and your 24-player raid team must have a proper strategic approach on each of the bosses.
With that in mind, this guide will feature the name of the boss. Then we’ll tackle its notable attacks and the corresponding effects. Knowing the various attacks is only half the battle, the other half will depend on your team’s strategic approach. Also, take note that your alliance will face mini-encounters when transitioning from one boss to another. With that out of the way, feel free to check out our systematic guide below.
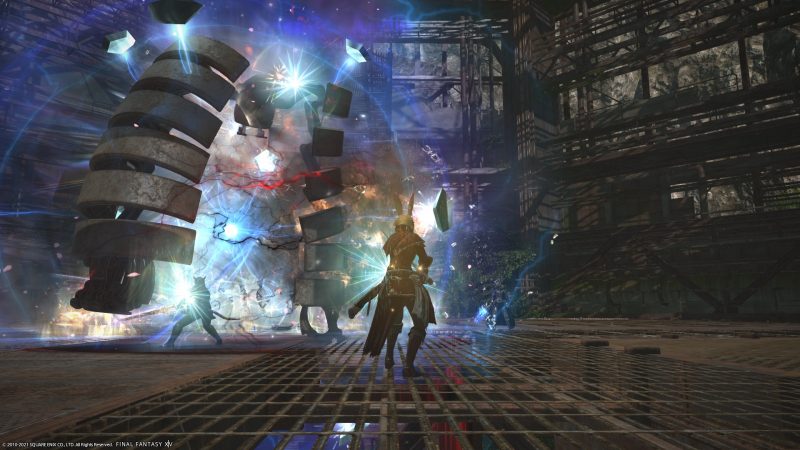
Boss #1: Serial-jointed Command Model
This boss is the first one you’ll encounter once you enter the Copied Factory. It’s not as difficult as the monsters after him, but you should be wary of its devastating attacks.
The Automata’s Notable Attacks
- Systematic Siege
- Clanging Blow
- Energy Bombardment
- Forceful Impact
- Energy Assault
- Systematic Targeting
- Centrifugal Spin
- Energy Bombardment
- Systematic Airstrike
Right off the bat, this boss will unleash the Systematic Siege, which is a tank buster. This attack unleashes four stubbies capable of firing hell balls across the arena. These robots will also move around the area after firing. While this is all happening, the boss will unleash another tank buster attack called the Clanging Blow. It is important to dodge the hell balls as they will damage the player and earn them a vulnerability debuff. While you and your team are busy dodging these attacks, the boss will unleash an area-wide attack called Forceful Impact. It will simultaneously fire with another projectile-based attack called Energy Assault.
To make the situation spicier, six robots will execute a laser-based homing attack called Systematic Targeting on six players. The next attack is a spinning move called Centrifugal Spin. After that is Systematic Airstrikes, which is an attack that involves dropping energy balls in the Arena. Systematic Airstrikes also cause shockwaves that knockdown players. It is also one of the indicators that another Systematic Siege is coming your way.
Boss #2: The Happy-Go-Lucky Hobbs
Hobbs, the next boss, resides in the factory’s QA chamber whose main objective is to test logic, pain tolerance, and other machine-related examinations. Just take a look at its attacks below:
Its Mechanic-Heavy Notable Attacks
- Laser Resistance Test – Laser-based attack that deals arena-wide AoE
- Wall Mounted Arms – part of the three wall mechanics activated by Hobbs
- Wall Mounted Flamethrowers – A collection of flamethrowers that glows before firing
- Ring Laser – A circular inward-moving laser that appears outside of the platform
- Laser Sight – A laser attack that targets the healer
- Short Range Missiles – Circular AoE that envelops four players in the party
Upon arrival, your alliance party will have its designated platforms, each of which comes with its own set of mechanics. To survive this boss, you must pay attention to the visual cues at the back of the platform. Your party must be mindful of the screen prompt that indicates the type of attack coming to your specific platform.
Also, it is recommended that each member of the party stack up to the healer and help absorb the damage. Defeating Hobbs will take your alliance to another mini encounter with a Goliath Tank and a Flying Unit.
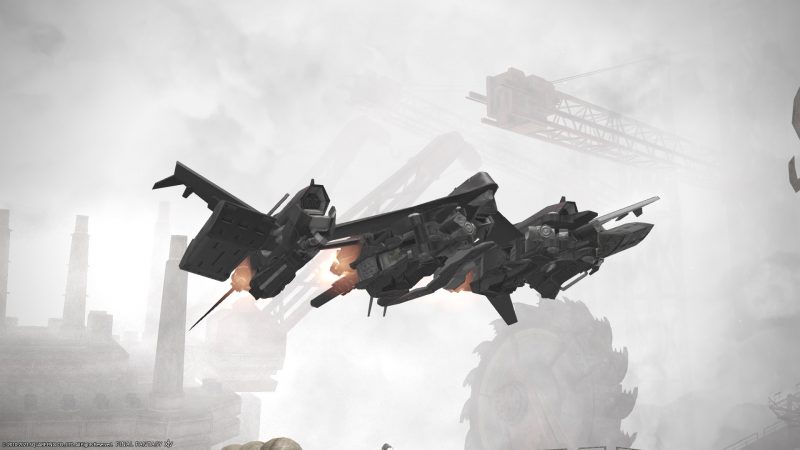
Boss #3: The Devastating Titan Engels
The battle with Engels, the third boss in the raid, takes place in an elevated arena that does not have any railings. In other words, your alliance should take extra caution when approaching the edge to avoid falling off the platform. Before we dive into its mechanics, let’s take a look at its moveset.
The Giant Robot’s Unhinged Moveset
- Marx Smash – A devastating Attack that comes in four variants.
- Precision Guided Missile – A Tank-Focused attack
- Incendiary Bombing – A character-specific attack that tags the damage recipient with red markers
- Guided Missile – A homing missile attack that marks targets with pulsing circles.
- Diffuse Laser – An attack that deals Arena-Wide Damage
- Energy Barrage – A devastating laser attack that spawns at the center of the arena
- Surface Missile – An attack made up of Ten AoE explosions all over the platform.
- Area Bombardment – A concoction of incendiary bombs, surface missiles, and guided missiles
- Crushing Wheel – An attack wherein Engels executes the devastating Marx Smash using both arms.
In addition to the projectile and energy-based weapons, Engels also comes with colossal arms equipped with giant rotating saw blades. Like the previous bosses, battling Engels is done in phases.
The first phase will introduce you to the various attacks starting with Marx Smash. One indicator for the end of the first phase is when the boss unleashes the Diffuse Laser attack again The second phase begins with the charging of a powerful laser attack and spawning Reverse-jointed Goliath mobs. You and your companions must destroy the goliath before Engle’s gauge is 100. Failing to do so, will wipe out the entire alliance. In addition, most of the attacks in this phase involve the use of the boss’s arms.
Boss #4 – 9s-Operated Walking Fortress
Now we reach the final boss of the Copied Factory. The famous 9S. He comes with an Operated Walking Fortress, and both of them have a combined set of attacks. Take a look at them below:
The Formidable Hacked Firepower of 9S
- Neutralization – A Tank Buster attack
- Laser Saturation – A damaging AoE attack that covers the entire arena
- Laser Turret – a laser-based attack that targets random players
- Fore Hind and Dual Flank Cannons – A conal AoE-based attack unleashed by the boss.
- Engage Marx Support – A powerful attack that employs two saw-blade arms.
- Undock – It involves the boss jumping out from the comfort zone to unleash dive bombs.
- Anti-Personnel Missile – An attack notable for its indicator that lights up the entire floor of the arena.
Apart from the set of attacks featured on the list, 9S can also unleash signature attacks from previous bosses. The battle starts with the boss unleashing the tank-buster attack called Neutralization followed by Laser Saturation. The attacks on the list are arranged in the same order as their execution during the first phase of the battle. After the attack, the boss will jump back to the walking fortress and unleash three more attacks. Those are Neutralization, Anti-Personnel Missile, and Laser Turret, and it marks the end of the first phase.
The second phase starts with 9s summoning two Goliath Tanks that will seal the boss in a protective bubble. It is recommended that the tanks from your alliance face them off. Both Goliaths will unleash their laser turret, ground AoE, and Laser Saturation attacks until their destruction. Then, the Goliaths will self-destruct when nearing defeat. You need to dodge these explosions to avoid unnecessary damage.
Phase 3 will feature three versions of the first boss complete with all the devastating attacks. Elimination of the three Serial-jointed Command Model will save your alliance from 9s’s Total Annihilation Attack. Thus, begin the fourth and final phase. It is a mash-up of the most powerful attacks in the raid, doubling their efficacy or damage.
The Decisive End of The Copied Factory
Consider phase four as the final coup de grace that will prove the efficiency of your alliance’s modus vivendi. After all, reaching the fourth and final phase of the Copied Factory raid is already a feat by itself. Beating the Copied Factory raid is more than just getting access to cool loots, it is a capstone enjoyed by the few. To that end, if you are looking for a challenge that will test your FFXIV skills to their limit, then, The Copied Factory raid is just around the corner.